How to Setup the Spider Router
This is the current installation process for a new SpiderVPN router.
Before You Start
- Keep the existing modem or upstream router powered on.
- Have the SpiderVPN account email ready.
- Use a phone or laptop that can connect to the new SpiderVPN router Wi-Fi.
- Do not factory reset the router unless support asks you to.
Customer Install Flow
- Connect the SpiderVPN router power supply.
- Connect the router WAN port to the modem or upstream router using Ethernet.
- Wait for the router to finish booting.
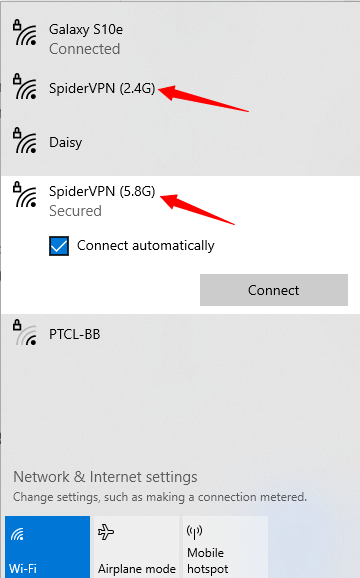
- Connect a phone or laptop to the SpiderVPN router Wi-Fi network.
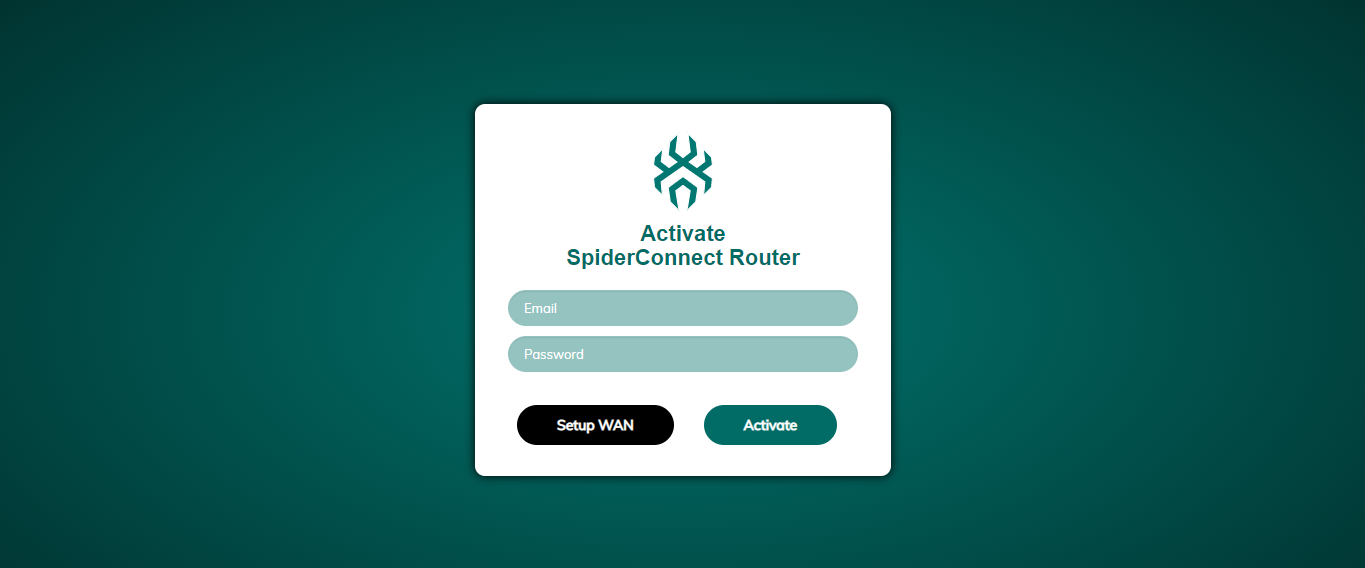
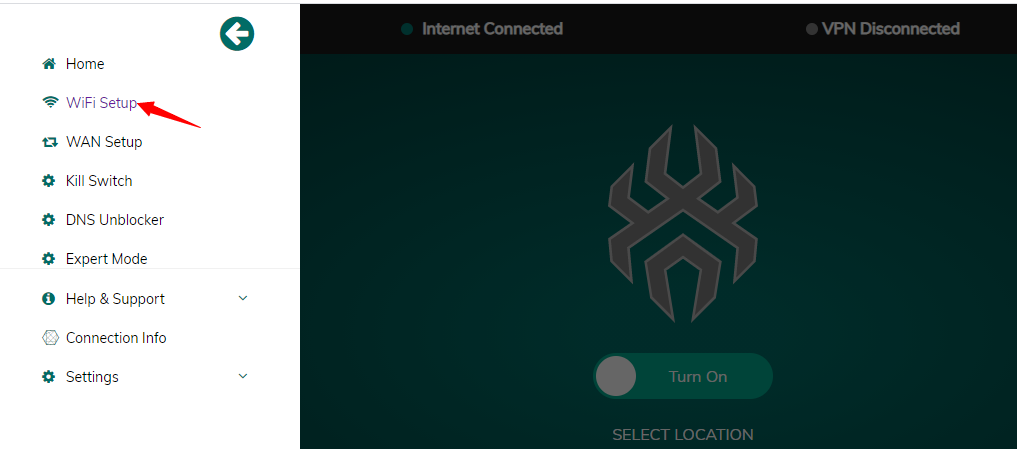
- Open the setup page shown on the router card, label, or support message.
- Sign in or claim the router with the SpiderVPN account email.
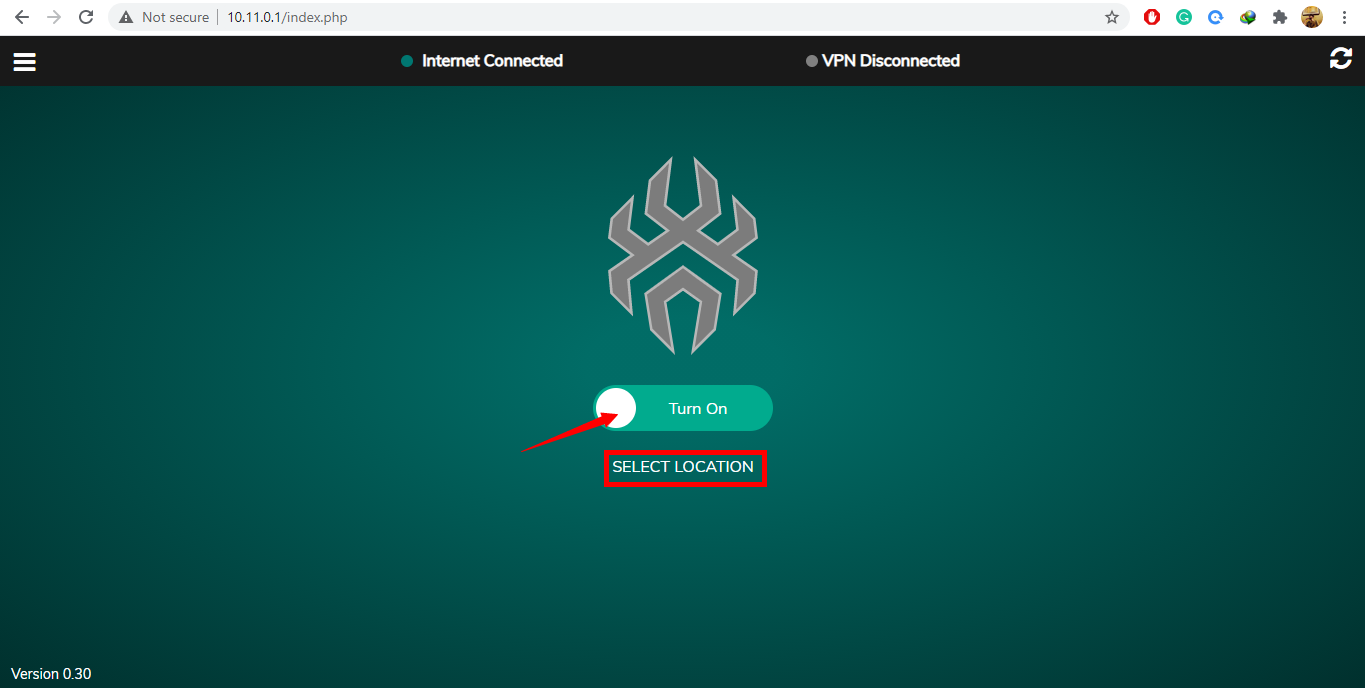
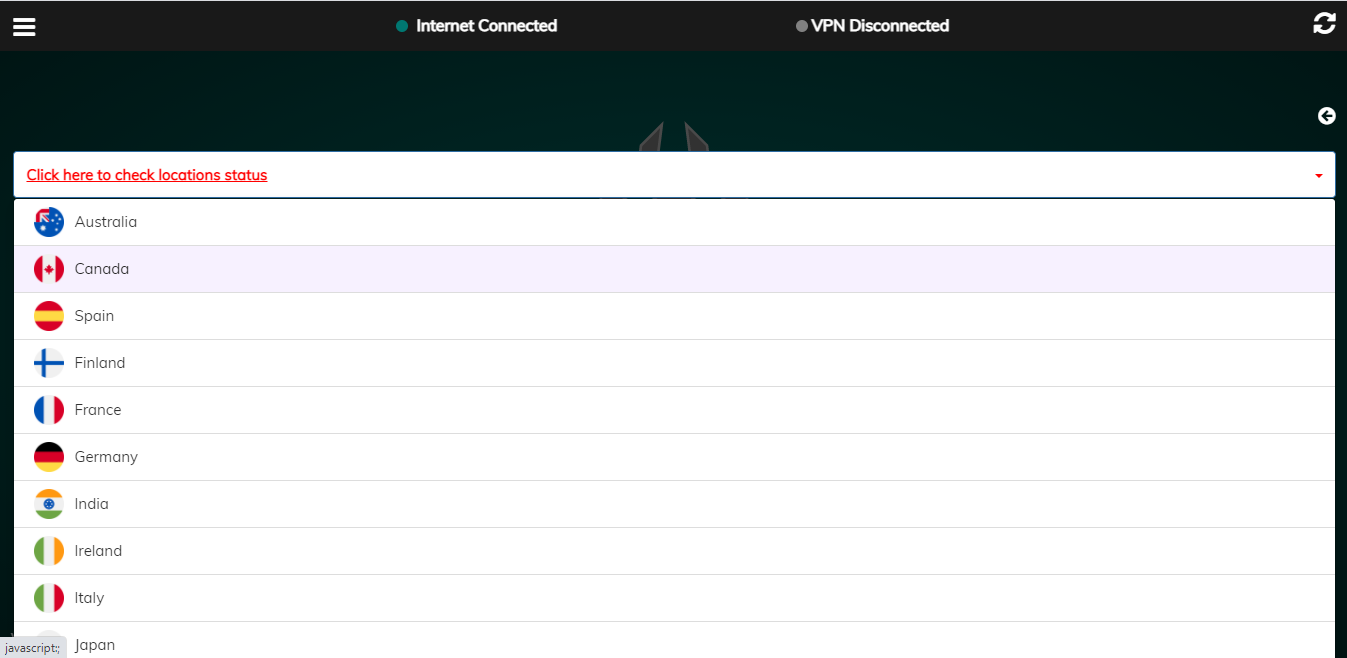
- Choose the preferred VPN location.
- Save the setup and wait while the router applies VPN configuration.
- Open the router dashboard.
- Confirm internet is working and the dashboard shows VPN connected.
Support Verification
Support should verify the customer VPN service, not only support access:
- WAN internet is available.
- Setup is marked complete.
- The selected VPN location is correct.
- Customer WireGuard configuration exists.
- Recent WireGuard handshake and transfer counters are present.
- DNS and public egress match the expected VPN location.
- The management tunnel remains reachable for support.
Do not assume the customer VPN is active from management-tunnel access alone. A working management tunnel only proves support can reach the router.
If Setup Fails
- Confirm the WAN cable is connected to the router WAN port.
- Reboot the modem or upstream router if it does not provide internet.
- Reopen the SpiderVPN router dashboard.
- Confirm the account email and router claim state with support.
- Send support the router model, current screen, selected location, and any error text.
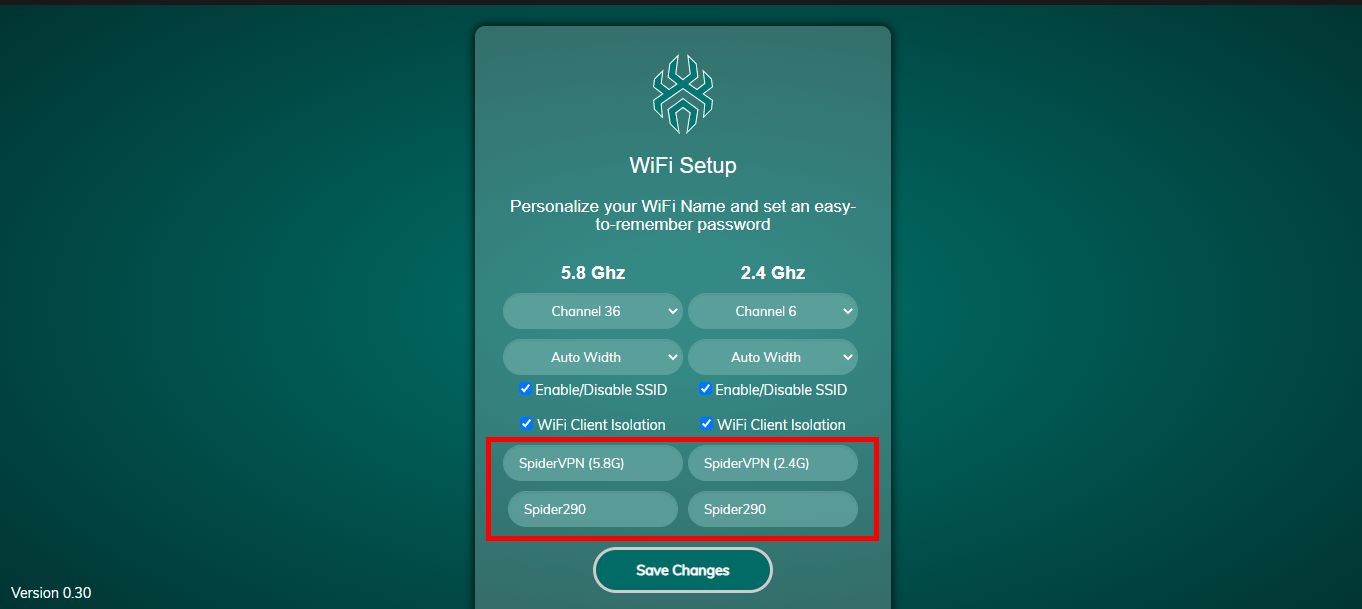
Reference Screenshots
These images were preserved from the previous public GitBook page for visual parity.